The moment we heard about the Kedarkantha trek, we couldn’t resist. People dream of this trek, and here we were, finally getting an opportunity to go to the summit.
Without much planning, we set off to explore the stunning Upper Himalayan ranges and, to our luck, experienced fresh snowfall the very next day. It was a spontaneous adventure, with no specific trekking communities, no commercial groups. Just us, a few close friends, and a reliable local guide. Honestly, it made the whole Kedarkantha trek feel more intimate and memorable.
What made it even more special? It was my friend’s birthday, and we celebrated it right on top of the Kedarkantha summit, surrounded by snow, serenity, and a sense of accomplishment. That moment of cutting a cake in the Himalayas is etched in our hearts forever.
This blog is your complete Kedarkantha trekking guide, whether you’re planning to go solo, with a local guide, or as part of a trekking group. It covers everything you need to know: the Kedarkantha trek itinerary, packing tips, cost breakdown, stay options, and even contact info for a trusted local guide who led us to the top of the Kedarkantha peak safely and joyfully.
Best Time for Kedarkantha Trek – When the Mountains Wear Snow
December to March is hands-down the best time for the Kedarkantha trek, especially if you want to experience the classic snow trek that this region is known for.
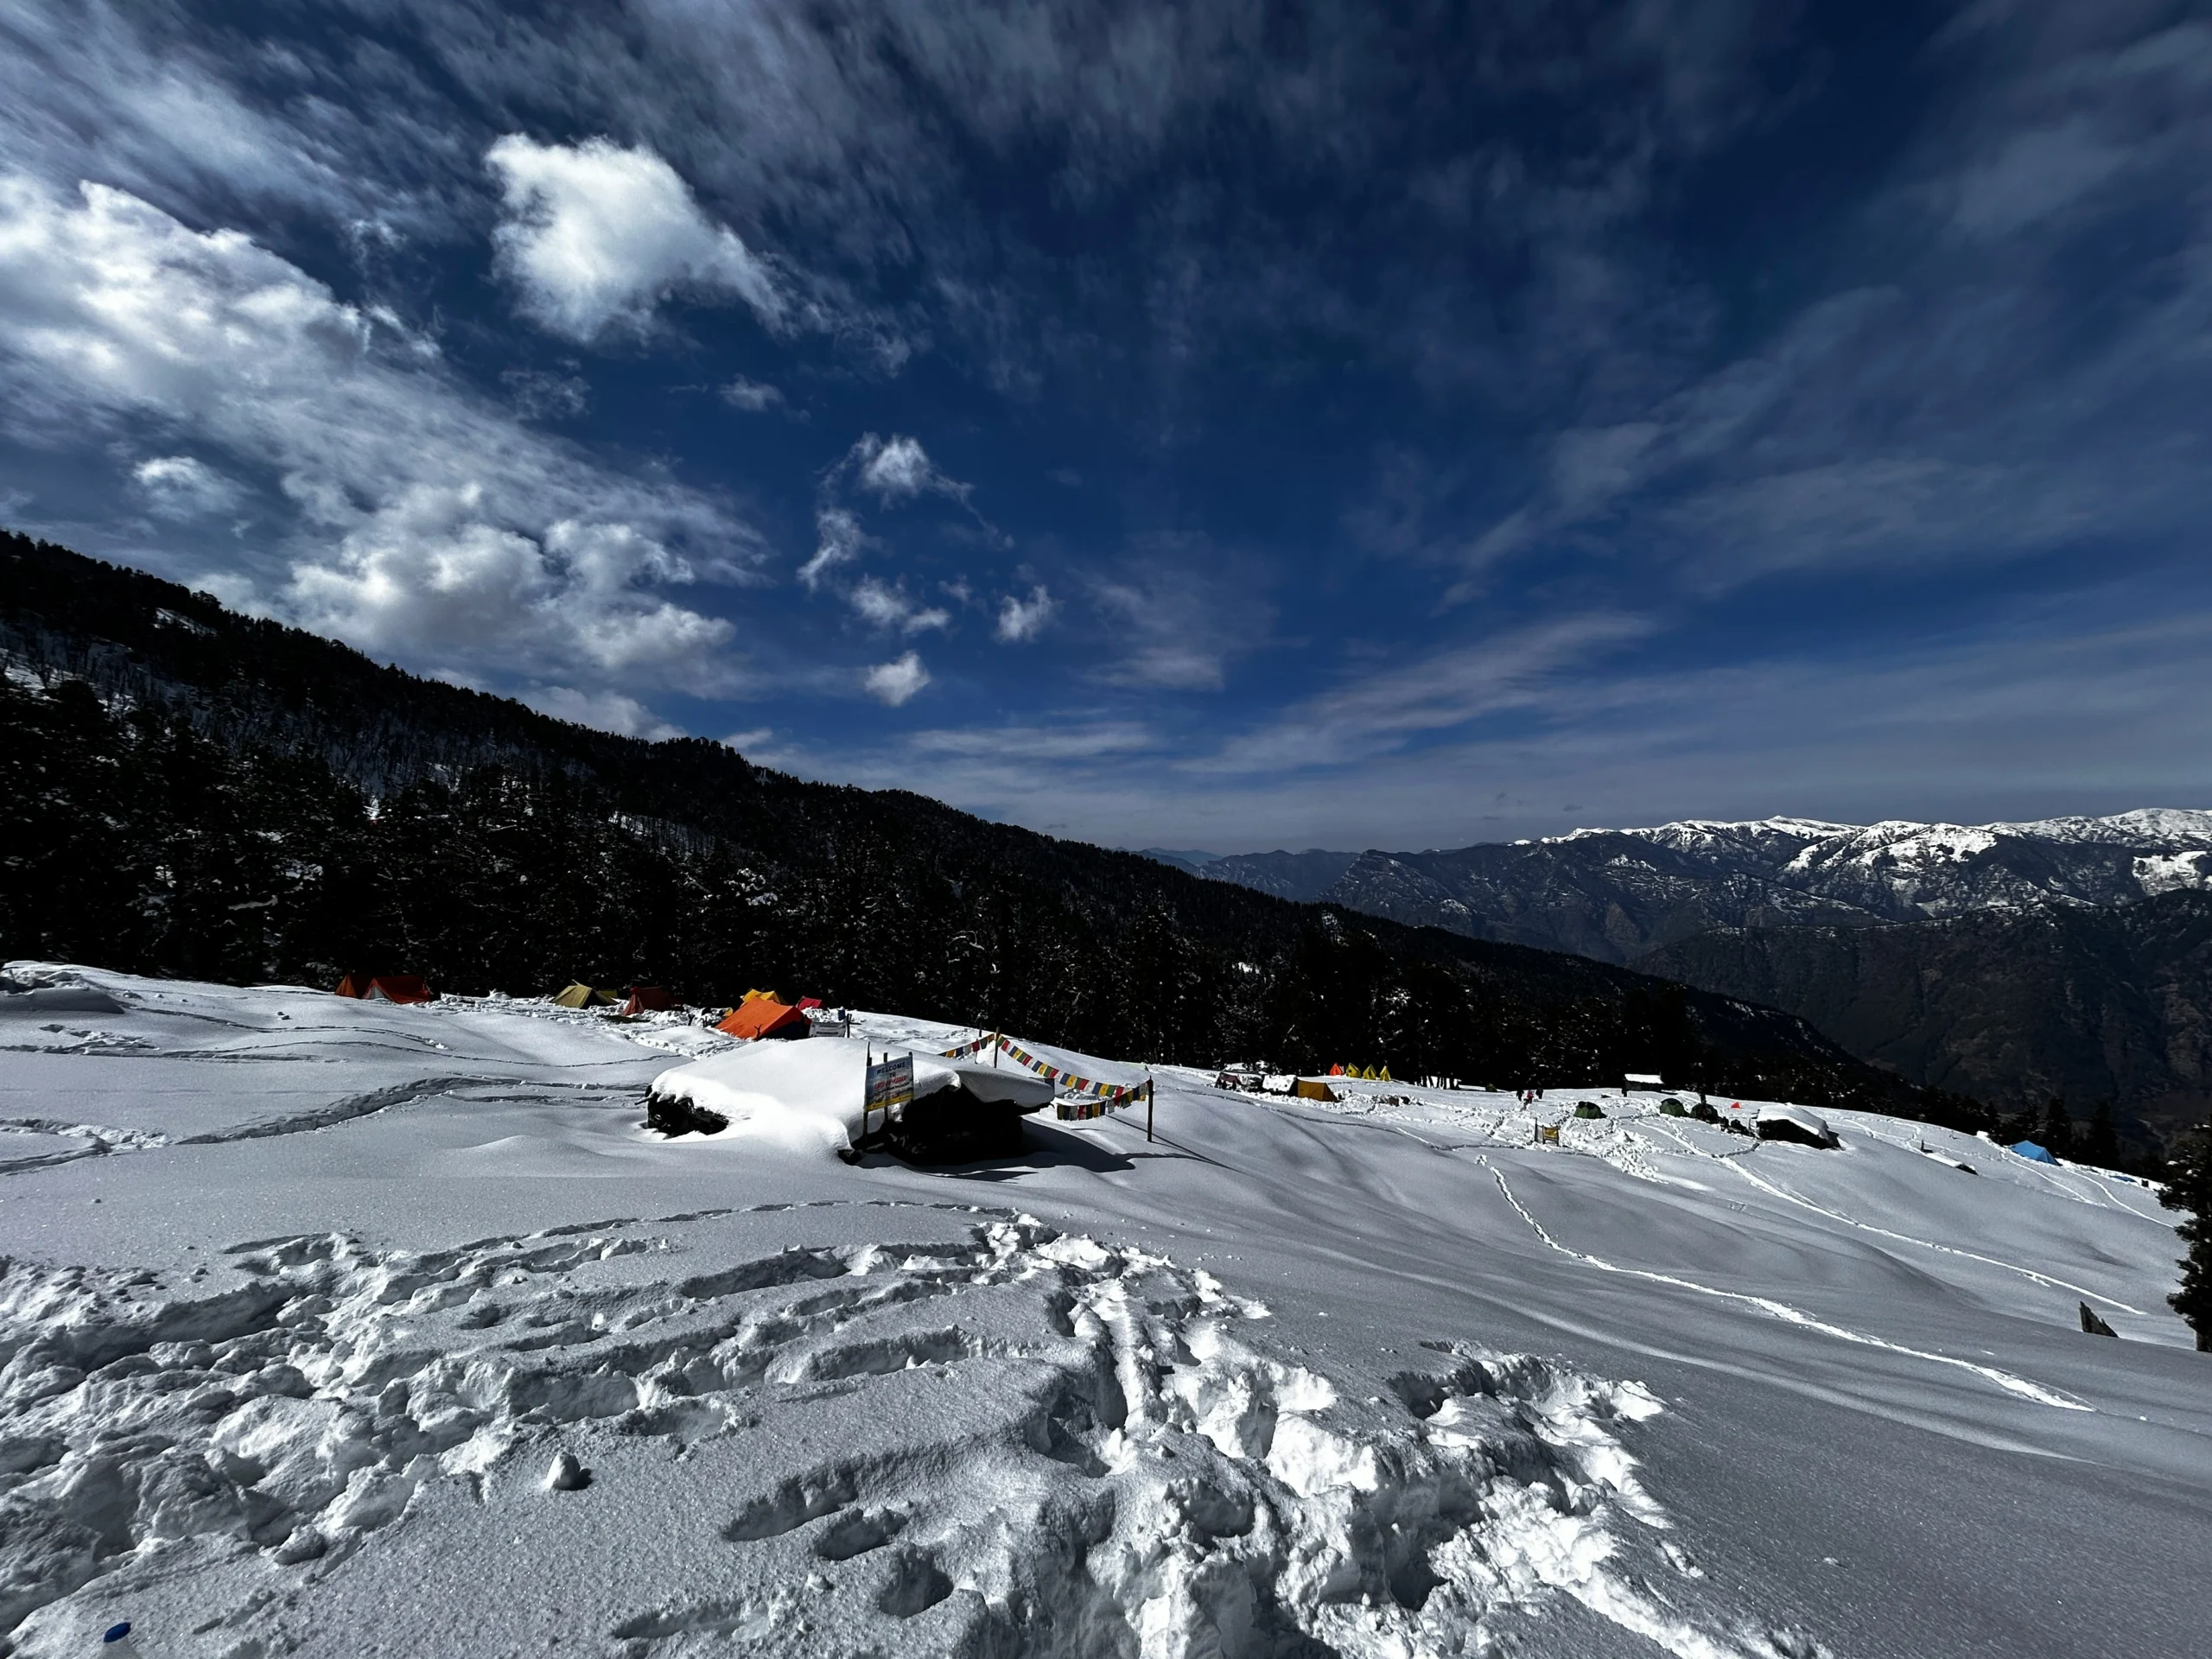
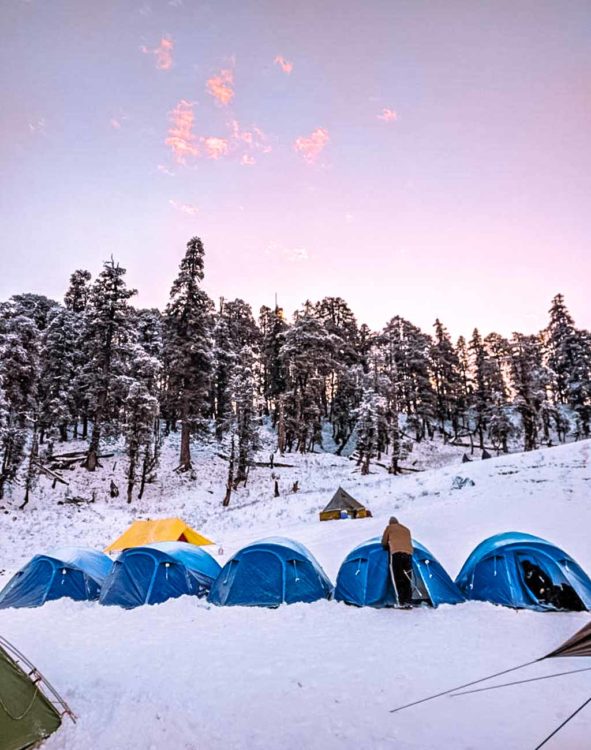
During these months, the Kedarkantha peak trek offers breathtaking views of snow-draped pine trees that resemble Christmas trees, icy trails that sparkle in the sun, and a clear view of the Kedarkantha summit that feels like a postcard come to life. This is the season when the trek becomes magical, and the experience truly unforgettable.
Now, that’s not to say you can’t do the Kedarkantha trek from Dehradun at other times of the year. From May to November, the trail transforms into a mix of lush meadows, dry forest paths, and vibrant alpine greenery. While the snow may be missing, the panoramic views from the Kedarkantha summit remain stunning throughout the year.
If you’re aiming for a snow trek in the Dehradun region, though, winter is your season. That’s what Kedarkantha trekking is most famous for—and for good reason.
How to Reach Kedarkantha Trek – Packages and Trek Cost Breakdown
To begin your Kedarkantha trek, your journey starts from Dehradun, which is well-connected by air, rail, and road. The best way is to reach Dehradun Railway Station early in the morning, especially if you plan to travel to Sankri, the base village for the Kedarkantha peak trek.
Day 1: Dehradun to Sankri
Elevation: 6,400 ft | Distance: approx 196 km | Duration: 10–12 hours
Your route from Dehradun to Sankri can vary based on comfort and budget. Here’s how you can reach the base camp of the Kedarkantha trekking route:
By Public Bus (Budget-Friendly Option)
There are currently two government buses that depart daily from Dehradun Railway Station to Sankri:
- First Bus: 5:00 AM
- Second Bus: 7:00 AM
Duration: Approx. 11–12 hours
Kedarkantha trek price (bus): Around INR 350 per person (as of 2025)
Pro Tip: If you’re on a tight budget, this is the best option. Public transport significantly reduces your overall Kedarkantha trek cost.
Shared Cab / Jeep (Mid-Budget Option)
If you miss the early buses, don’t worry—shared jeeps and cabs start leaving around 8:00 AM from outside the station or the Parade Ground.
Cost: INR 600– INR 700 per seat
Duration: ~10 hours
These shared rides are common among trekkers and locals and provide a comfortable yet affordable alternative.
Private Taxi (Comfortable/Group Option)
For groups or those who prefer more comfort and flexibility, you can hire a private Sumo or Bolero.
Cost: INR 5,500– INR 6,500 per vehicle
Duration: 8–9 hours (faster and more flexible)
Booking a cab in advance via Dehradun-based operators or ride-share apps is common in 2025.
Entry & Stay Costs at Sankri
As you enter Sankri village, the gateway to the Kedarkantha peak, you will be charged a basic entry fee:
- Village Entry Fee: ₹150 per person (valid for 3 days)
- Private Group Tent Pitching Fee: ₹200 per person
- Additional Day Charges: ₹50 per day
Stay in Sankri – Rawat Homestay (Recommended)
We reached Sankri by evening and stayed at Rawat Homestay, a cosy spot known among trekkers doing the Kedarkantha trek from Dehradun.
Cost: INR 200 per night (2025 rate)
The rooms were clean with shared washrooms, and good, homemade meals. We loved their hospitality. Here, we also met our amazing local guide, who played a huge role in helping us complete the Kedarkantha summit safely and joyfully.
Three-Day Package
We took the Kedarkantha trek package at Rawat Homestay, which cost us INR 7,000/- per person. I would highly recommend this package because it had everything. From camp stay to food to guide, we could not have asked for more.
Day 2: Sankri to the Base Camp (KK Base)
Elevation: 11,000 ft. | Distance : 7 KMs | Duration : 4-5 hours
We started early in the morning from Sankri and, after reaching halfway, we took our first pit stop. Also, this was the only pit stop on the way to the Kedarkantha base camp. We had Maggi and tea (INR 80), and this is when it actually started to snow, making the Kedarkantha trek feel even more magical.
As we moved further, we came across Juda ka Talab (9,100 ft.), one of the most iconic highlights of the Kedarkantha trekking trail. We paused here for a break, had lunch, and then continued our ascent towards the base camp of the Kedarkantha peak trek.
Our local guide had made all the arrangements beforehand. The porters who had left before us had already set up our tents and a main wooden hut where we were served tea and snacks. We even had a cosy bonfire to ourselves in the chilly Himalayan evening.
At night, we were served a warm, home-cooked dinner of rice, chapatis, vegetables, and tea. It truly felt like a home away from home, deep in the mountains.
Day 3: Base Camp – Kedarkantha Summit – Base Camp (KK Base)
Elevation: 12,500 ft. | Distance: 3 KMs x 2
Honestly, the Kedarkantha trek is easy until you reach the last kilometre. That final 1 KM stretch is steep and slightly challenging, but incredibly rewarding.
It took us approximately 3 hours to reach the Kedarkantha summit from the base camp. On the way up, there’s a pit stop halfway where we once again had Maggi and tea, one of the most comforting things to enjoy while trekking in Kedarkantha.
We sat at the Kedarkantha peak for almost an hour before beginning our descent. By noon, we were back at our Kedarkantha base camp. The sense of accomplishment was glowing on our faces, and the entire evening was spent reminiscing about the Kedarkantha peak trek, right beside a warm bonfire in the wooden hut.
Note: Start your summit push early in the morning, preferably by 4:00 AM, so you can catch the sunrise from the Kedarkantha summit. It is truly one of the most surreal experiences you can have during the Kedarkantha trek.
Day 4: Base Camp to Sankri
Distance: 7 KMs | Duration: 3–4 hours
To reach back to Sankri, we started early in the morning the very next day and took a different route this time. The best thing about choosing an alternate descent path during the Kedarkantha trek is that you get to witness a fresh set of views and landscapes with lush meadows, snow-lined trees, and scenic slopes, which makes the journey down equally exciting and far from redundant.
It was truly beautiful to see the Himalayan ranges and valleys from a whole new angle, adding to the charm of the overall Kedarkantha trekking experience.
Day 5: Sankri to Dehradun
This is the day you’ll leave Sankri, unless you plan to stay longer and enjoy the mountain life a bit more. From Sankri, you can travel back to Dehradun by either bus or private cab. Note that buses are not very frequent, so planning in advance is recommended.
Transport Options:
Cab:
- Cost: INR 5,000 – INR 6,050
- Duration: 6–7 hours
Bus:
- Departure: 5:30 AM and 8:30 AM from Sankri
- Cost: INR 250 (as of 2025)
- Duration: 8–9 hours
Difficulty Level
Kedarkantha is not a hard trek. During the summer season, it is rated as easy, while in the winter months, it is considered a moderate-level trek. I know many people who have completed this Kedarkantha trek solo, and some have even done it in just a day! However, unless you are a trained mountaineer with experience from both BMC and AMC, I would advise against rushing it. The mountains are breathtaking, but even a single careless step can turn dangerous.
The Kedarkantha trek starts at around 6,000 ft in Sankri and ascends to a maximum altitude of 12,500 ft at the Kedarkantha summit. The trail climbs at a comfortable and gradual pace, with an average elevation gain of approximately 1,500 ft per day. The path is not technically difficult. Most of the Kedarkantha peak trek takes you through enchanting forest areas, which are well-marked and scenic, making it easier even for solo trekkers to navigate.
However, the final climb to the Kedarkantha summit during winter is often snow-covered, and this section can get tricky without a guide. If you’re doing the Kedarkantha trek in the snow season, it’s highly recommended to go with a local guide or a trek leader for safety.
Useful Essentials for Kedarkantha Trek
Since temperatures during the Kedarkantha trek can dip to as low as -10°C, and the trail is quite secluded, it’s crucial to carry the right gear. Here’s a checklist of essentials you’ll need to make your Kedarkantha trekking experience safer and more comfortable. I’ve also added links to products that have worked well for me.
Clothing
We wore six layers of warm clothing. Yes, it was that cold, especially during the winter Kedarkantha trek!
- Thermal Inners: This should be your base layer. Invest in a good-quality thermal, as it traps body heat efficiently and takes up little space in your backpack. Absolutely essential for cold temperatures at the Kedarkantha summit.
- Fleece Jacket: Fleece adds a great layer of insulation. I recommend Decathlon’s trekking fleece, which is lightweight and warm.
- Down Jacket: A good down jacket that’s water-resistant and can withstand sub-zero temperatures is non-negotiable. It’s your key insulation piece for the Kedarkantha peak trek.
- Trekking Shoes: Choose proper winter trekking shoes with solid grip for snow. This is vital if you’re doing the Kedarkantha trek in December or January, as trails can get icy.
- Waterproof/Windproof Track Pants: Your pants are likely to get wet in snow or during monsoon. Carry quick-dry, weather-proof lowers for protection.
- Raincoat or Poncho: If it starts to snow or rain, a poncho or raincoat is a lifesaver. Combine it with a rain cover for your backpack, especially if your bag isn’t waterproof.
- Gloves, Muffler, Woollen Cap: Keep your head and hands warm. Avoid pure wool gloves as they retain water—opt for waterproof insulated gloves instead.
- Socks: Carry 5–6 pairs. Sometimes you’ll need to wear double layers. Merino wool socks are the best for warmth and moisture control.
Electronics
- BSNL/MTNL SIM card: These are the only networks that sometimes work in remote areas along the Kedarkantha trek route.
- Head Torch: A headlamp (Decathlon has good options) is much more convenient than handheld torches.
- Power Banks/Extra Batteries: Cold weather drains battery life quickly, especially on the Kedarkantha base camp and higher altitudes.
Toiletries
- Hand Sanitizer
- Paper Soap
- Toothbrush & Toothpaste
- Toilet Paper
- Lip Balm
- Sunscreen (high SPF)
- Moisturiser (non-greasy, deep hydration)
Additional Must-Haves
- Day Pack Bag: A small backpack for essentials during the summit push.
- UV Sunglasses: Snow glare is harsh, and so, UV-protected sunglasses are a must.
- Water Bottle: Keep sipping to avoid dehydration during the climb to the Kedarkantha summit.
- Trekking Pole: Optional but useful for balance and joint support.
- Rain Cover: Essential for non-waterproof backpacks, keeps your electronics and clothing safe.
- Small Towel: You won’t be able to shower during most of the Kedarkantha trek itinerary, so a small towel for daily hygiene is more practical.
- Slippers: For quick walks around the camp or tent, slippers are way more convenient than wearing your trekking shoes again and again.
Also Read: Chadar Trek – Packing List Essential
ATM and Mobile Connectivity in Kedarkantha
Mobile:
Carry a BSNL or MTNL SIM for your Kedarkantha trek, as other networks like Vodafone, Airtel, or Jio typically do not work beyond Mori or Netwar. Our MTNL connection worked only till the Sankri base camp, after which we had no signal. If you’re relying on maps, bookings, or communication with your local Kedarkantha trek guide, make sure everything is downloaded or finalised before reaching Sankri.
ATM:
There are no ATMs in Sankri or beyond. So it’s essential to withdraw cash in Mussoorie or Dehradun before you begin your journey. The last reliable ATMs are in Purola, but they often run out of cash during the peak Kedarkantha trekking season (December–March). Carry enough cash to cover your Kedarkantha trek cost, including food, tips, stays, and emergencies.
Birthday Celebrations
Is it the birthday of your loved one? But how can someone get a cake during the trek or in camps where there is no commercialisation whatsoever? We thought the same, but when our Guide Bhaiya got to know that there was a birthday boy in our small group, they surprised us by making a cake for him out of milk, suji, and Horlicks.
They told us that there is an option of pre-ordering it and baking, and surprising the person with this. So yes! You can ask them to bake a cake beforehand.
Guide Details
- Name: Gajendra (Gaj) Bhaiya
- Contact Details: 09410506084
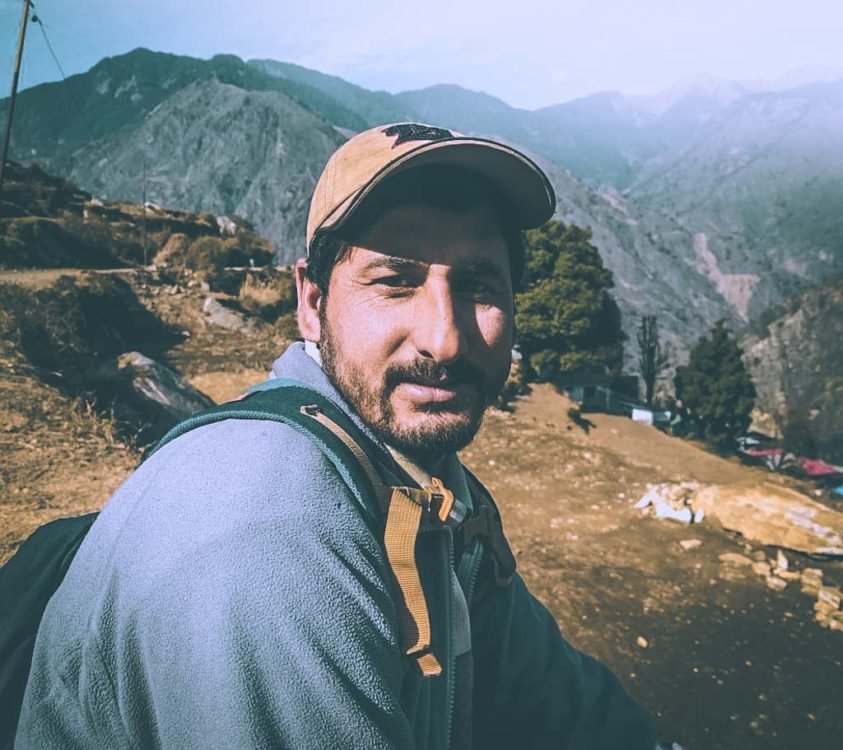
Gajendra (Gaj) Bhaiya was our guide. All you need to do is contact him. However, ask around for him as I am not sure if his contact number will still be the same after all these years or if he still operates as a guide.
Once you reach the summit, nothing can beat that feeling. You see a 360-degree view of the mountains standing tall, distant glaciers, snow across and below and when the sun kisses you after long hours of trekking, you sit there for a while and breathe in the beautiful air and let the feeling sink in. It’s beautiful and truly worth the trek.



Great post! helped me a lot.
But couldn’t get one thing actually…you have written in instagram post that you did complete the trek in 3k with to and fro in bus,,, again you have written in the blog that you did take the package of 7k…would you please clear this? Cause I am planning for this trek without any agency…need a local guide’s help which is cheap.
Thank you.
Hi Shafiul,
The INR 3k’s context and the trek are different. If you will read the post again you will get it 🙂
The local guide’s name is mentioned on this post and he takes INR 7K for the entire package. Hope this will help!
U have not mentioned any where about Kedar Kanthas high lights,total 10 kms X 2 trekking 12500 ft high ,some how not impressed.
If you would have thoroughly read before commenting your unrequested suggestions then you found have found it yourself.
Somehow not here to impress you either.
Makkhan singh here from sankri I am local tour guide from sankri I have more than 5years trekking experience if you are planning for Kedarkantha Trek so please contact me on this no : 07534079784
going this dec. this post helped a lot. I have already been following u on youtube and insta. awesome work!
Even i’m planning to go for kedarkantha trek this December.
Ohh great! Lets maybe coordinate our dates for the trek, if u feel like u can whatsapp me
Contact no given – not reachable , sankri ka aur kisi ka contact no mil skta h
Great Post, very good details of the trek you have provided. And my sincerest thanks for providing guide name and contact details. I had been trying to find local guide for the past two weeks till I hit on this blog. I was able to contact Gajendra earlier today and will be moving ahead with a solo trek in early October.